Although we didn't buy one when we got Sandi, I got one of the optional, stock, front skid plates (often referred to as the 'Bling Plate')
from a friend after helping him install his new, full set of Rasta, aluminum skid plates.
However, when I installed it on Sandi, I made a mistake. There are 6 bolts that hold this particular skid plate to the vehicle.
Well, it just so happened to be that I forgot to fully tighten two of them; specifically the ones with the long, thick spacers.
Consequently, I lost one of them (bolt, spacer, washers and all) somewhere on a trail
(likely Pole Hill when we went there on our way to hike in RMNP a day or two after putting the skid plate on).
Then it was time to either buy or make a replacement.
So, I went to McGuckin Hardware in Boulder to look around. The guys there pointed out many different options, but nothing that would quite do the trick. Then one of them handed me a business card and suggested I get in touch with some guy named Paul; a machinist in North Boulder.
One thing lead to another, and eventually, we met at his place. I told him the story, and he was very kind not to laugh at me.
We made an appointment to have him do the job of creating a replacement part, and what follows on this page are images from that project.
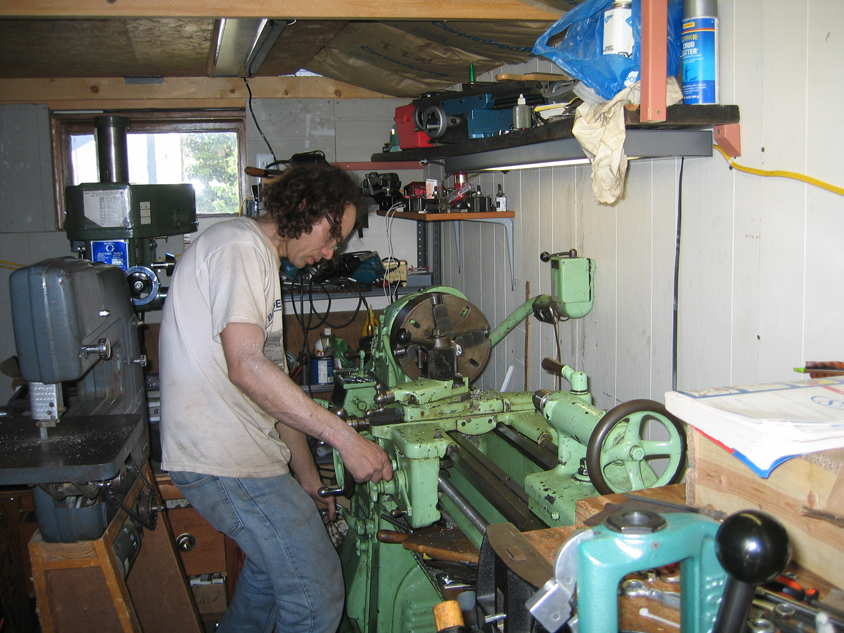
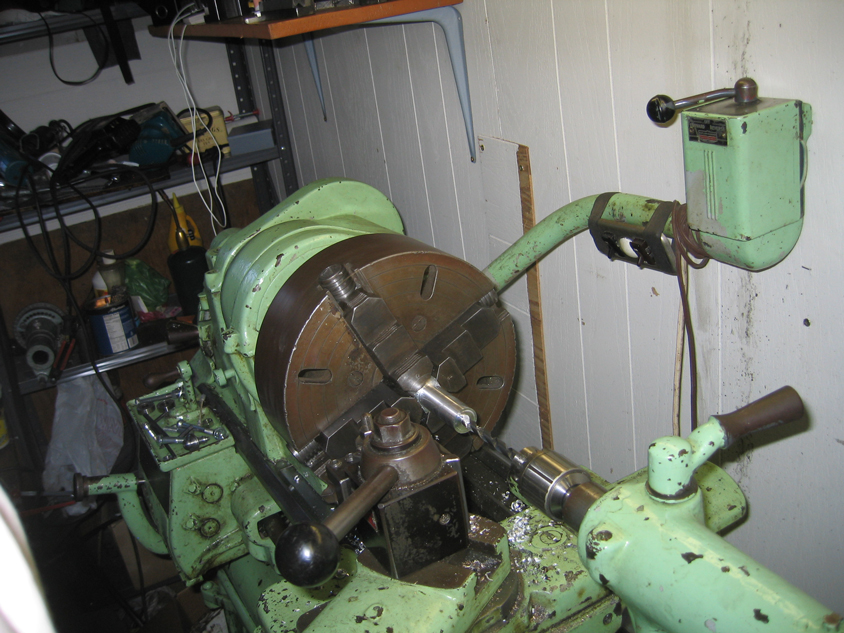
First of all, Paul's machine has a bit of history. If I recall the story correctly, it was built in 1942,
used to be owned by the military, went to CU, then to a friend of his whom he eventually bought it from.
For this project, he first measured the remaining, original spacer, and then picked out a long, square, aluminum rod,
put it on the machine and began to trim off the squared edges. This was completely new to me. Wow!
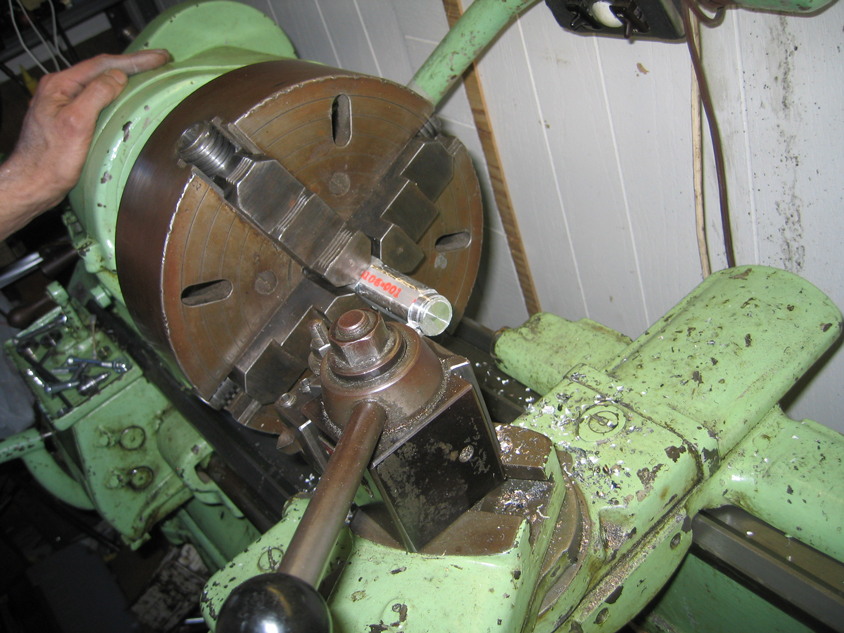
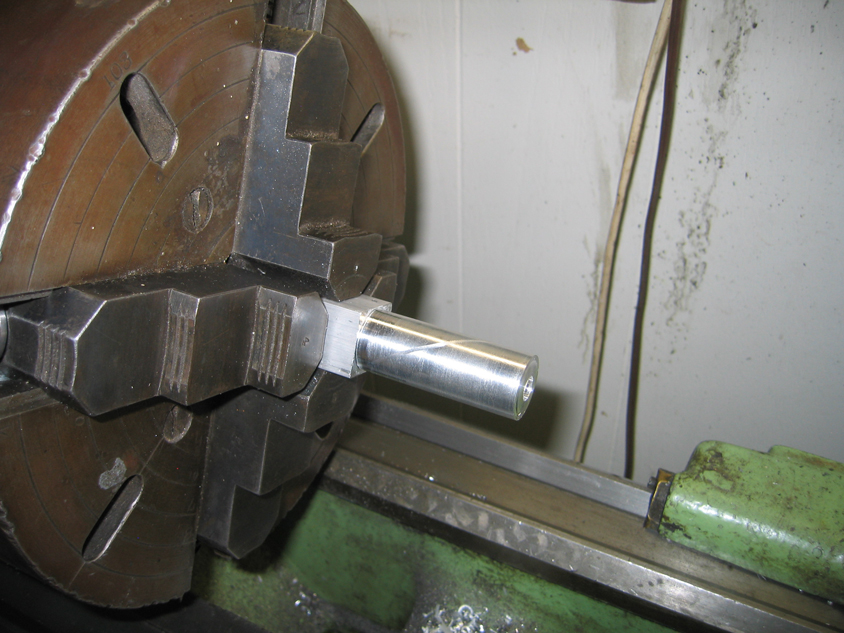
Here, though he's a ways into the project (corners already rounded off and cutting deeper into the block),
you can clearly see how the rest of the piece of aluminum being held by the machine's vice is square.
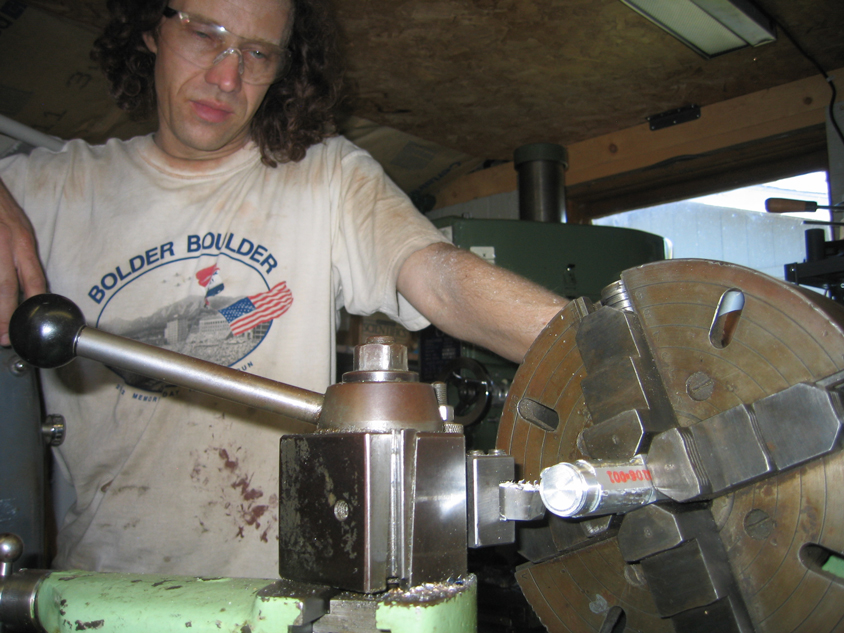
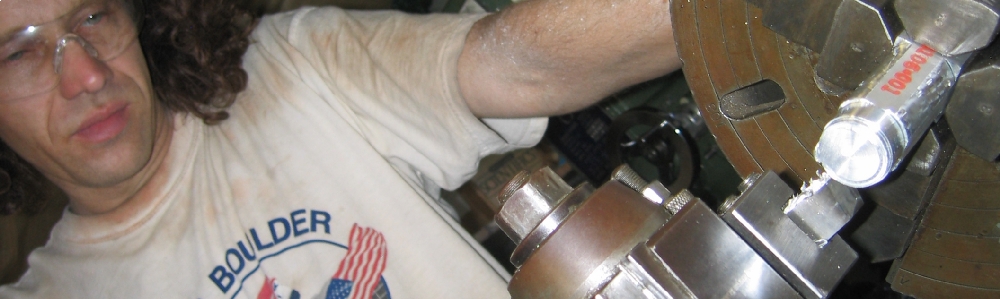
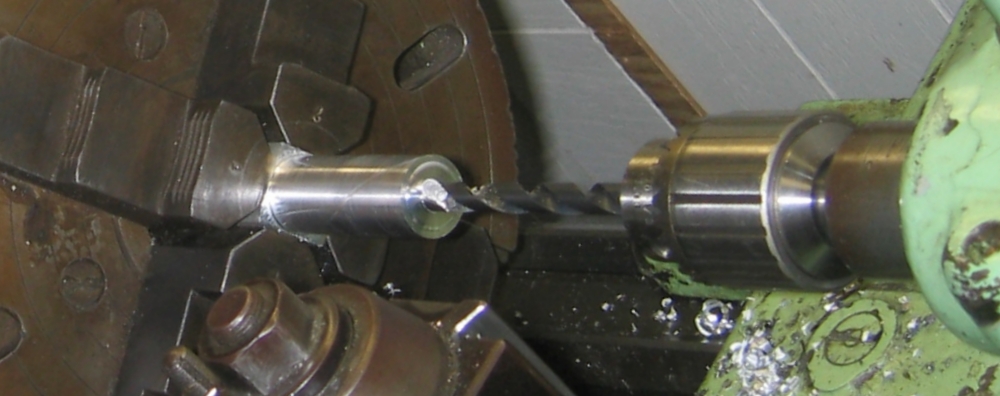
Now that he has a round section of the rod, it's time to drill the hole through the center for the bolt.
It's very different to see the piece being drilled spinning while the drill remains fixed with no movement of the drill bit.
Now it's time to cut it off the rest of the stock and see how it fits.
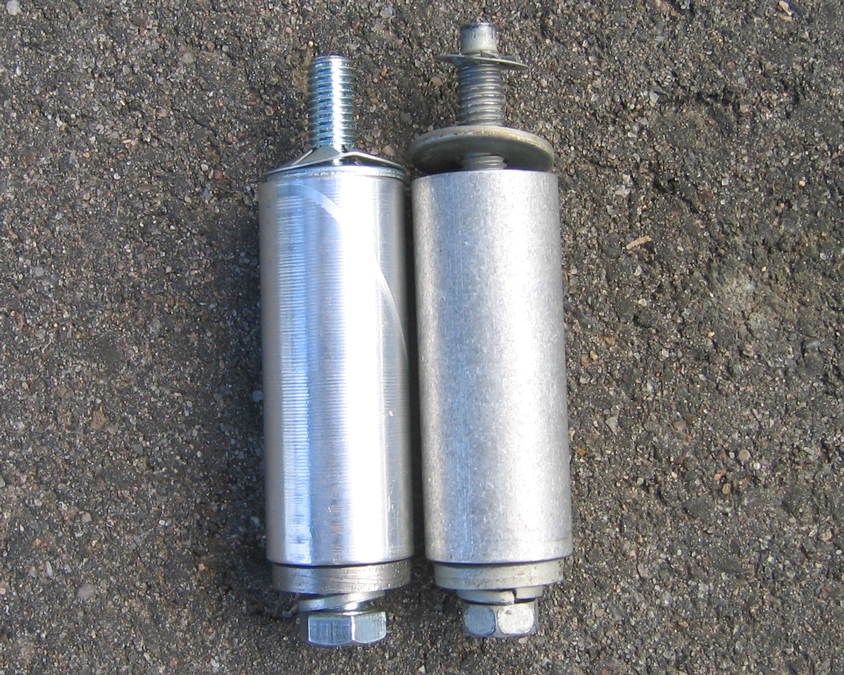
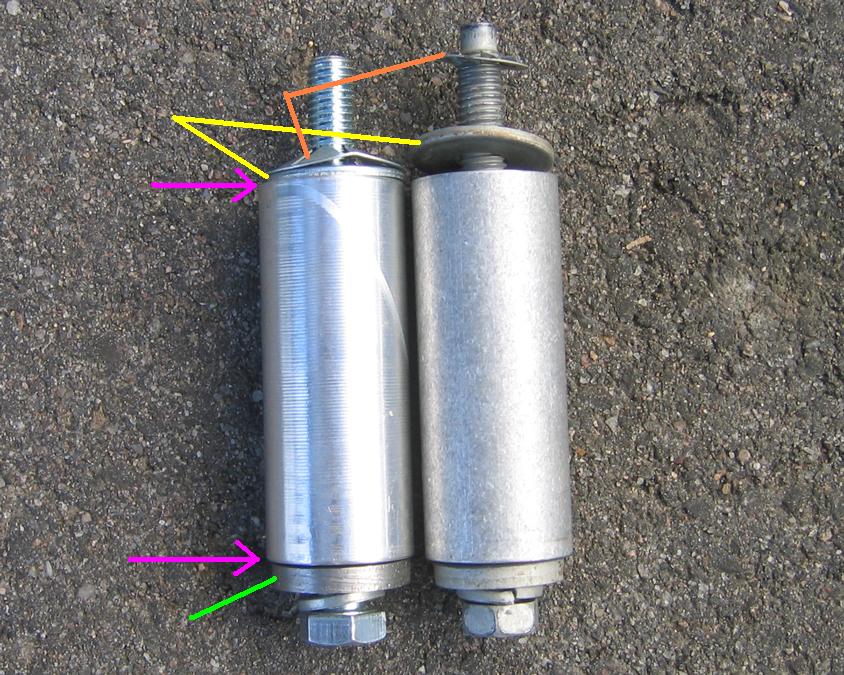
Here are the two spacers; Paul's on the left and the original on right.
By the way, when I held just the two spacers in my hands, I couldn't tell them apart (other than the shinny newness of his).
Just to make sure you know what you're looking at...
this is Paul's replacement spacer
these are the top-side washers
these are the clips
and this is Paul's replacement bottom-side washer
Great job, Paul!! :-)
I have some video from that day that I will try to get up here sometime soon. We'll see.
A while later, Paul also did the body mount chop on Sandi for me. Great job on that too.
If you need any machine work done in the Boulder area, contact me and I'll give you Paul's contact info.