v scroll down v
JammerGirl and I went to her folks' place in Wisconsin for a week in December.
While there, her Dad helped me build a storage shelf system in Sandi's rear cargo area.
For a couple weeks leading up to the trip, I sought out all of the relevant threads on the forum that had to do with
this kind of project. At first, I wanted to build some drawers back there like other people have. However, once I got more
acquainted with the options available and how everyone did theirs, I decided to go with the simpler shelf idea instead;
I figured I'd end up with more usable space since the drawers themselves would take up more space than the bins I already had onhand.
The bin space beneath the shelf is bigger in my version of this mod. This was mainly because of the height of my bins, but it
was also a space usage decision; I thought that the space would be more efficiently utilized if it were divided up slightly higher than the
otherwise-obvious place for a shelf where most others put theirs.
Since her Dad is so handy with woodworking, and since he said he could make something for it that would allow it to sit
on that bench and not be a problem, I didn't see why not.
Here are some photos from the project.
I didn't start taking photos right away. So, they start out when we already have the main section of this thing put together,
but I did manage to capture some of the process after that...
Here, we just set it in place to make sure it fits in the general sense.
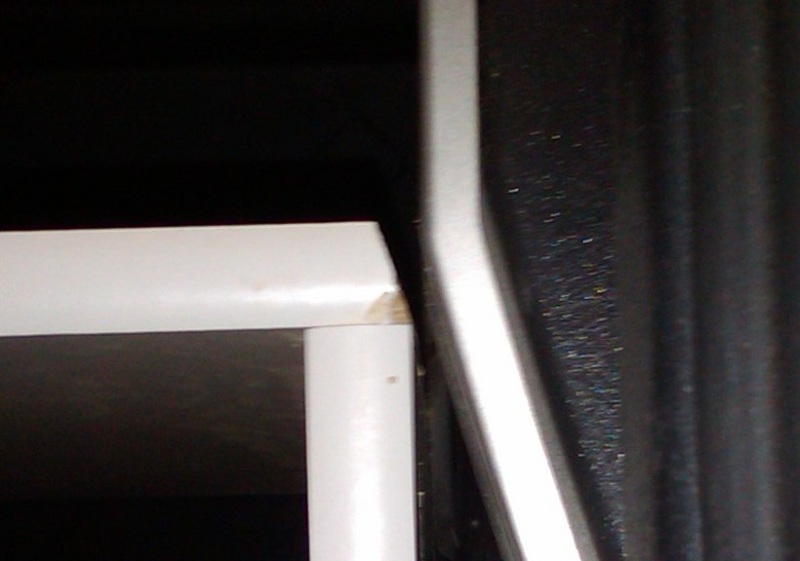
At this point, we noticed that the corner on the passenger side was sort of nudged up against the subwoofer...
So, Dad cut the edge off a bit to help it fit better...
there we go....nice fit
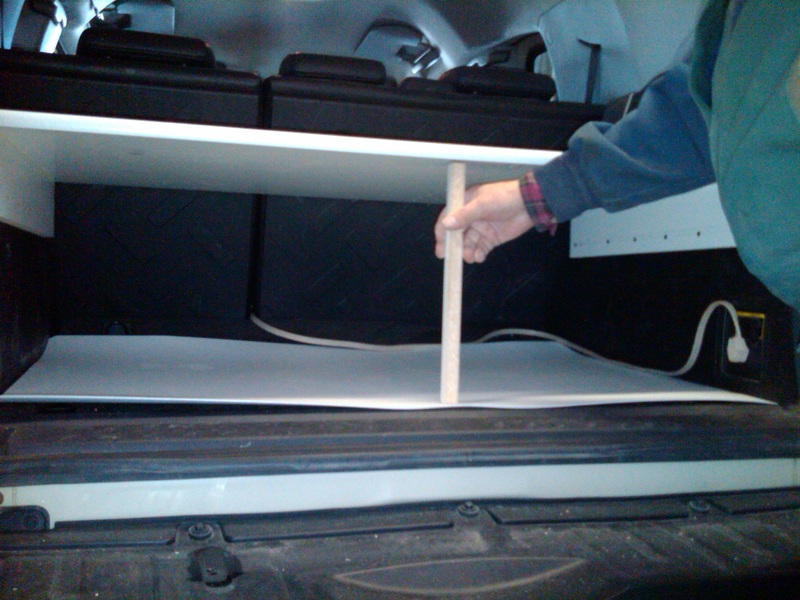
Next he made the little wedge-ish pieces that he used to give it a place to rest on both sides...
With those in place, it fit quite nicely just like so.
Oh, and I added a piece of plastic a this point as well....just a little something to help things slide a little easier
and keep the plastic floor from getting all scratched up too.
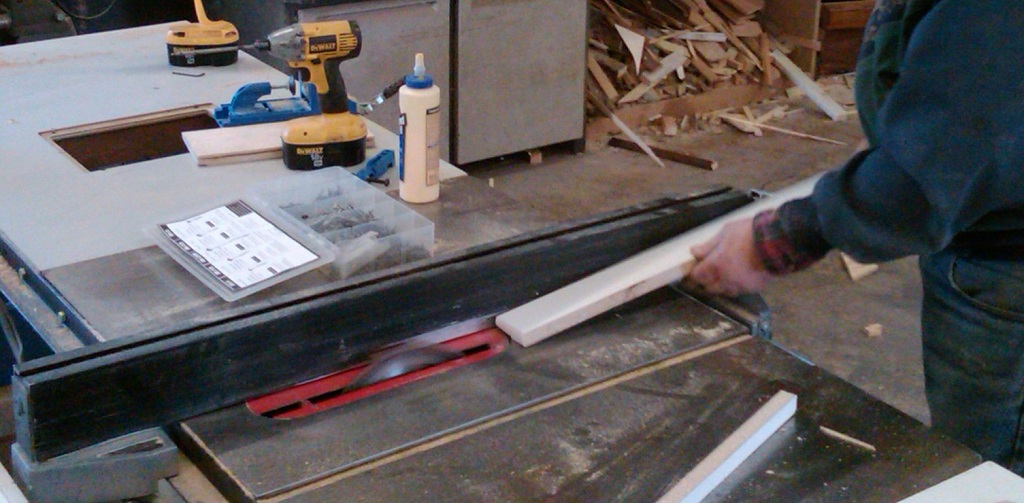
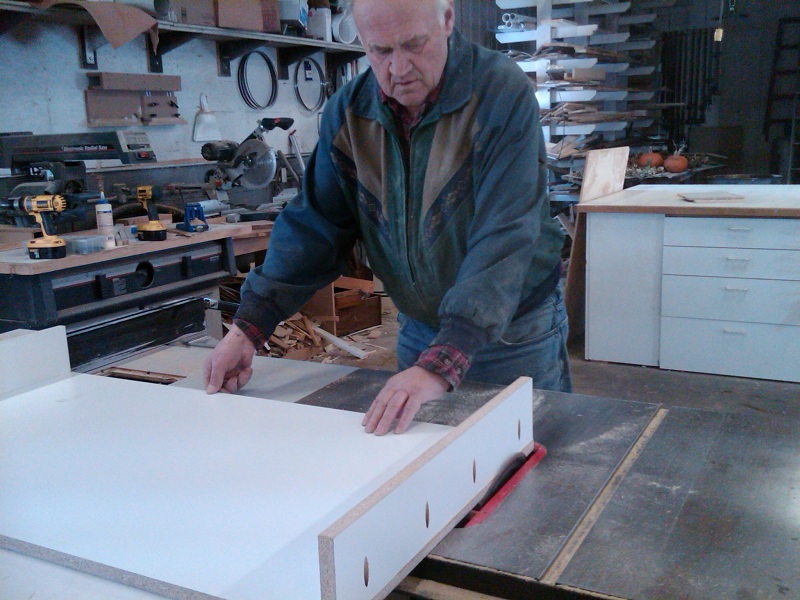
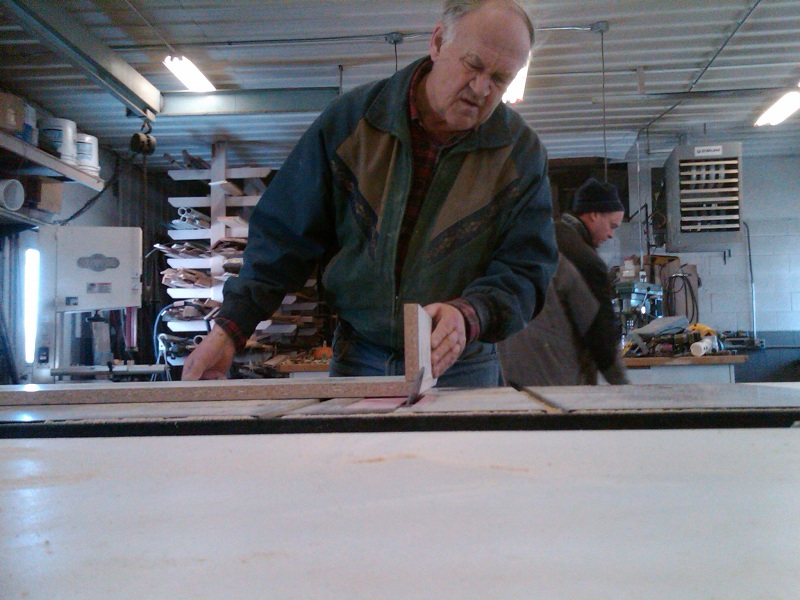
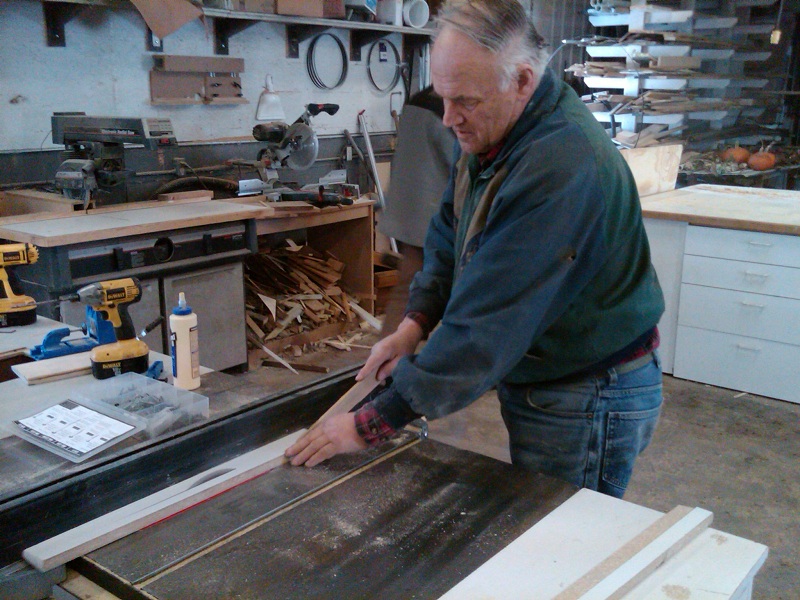
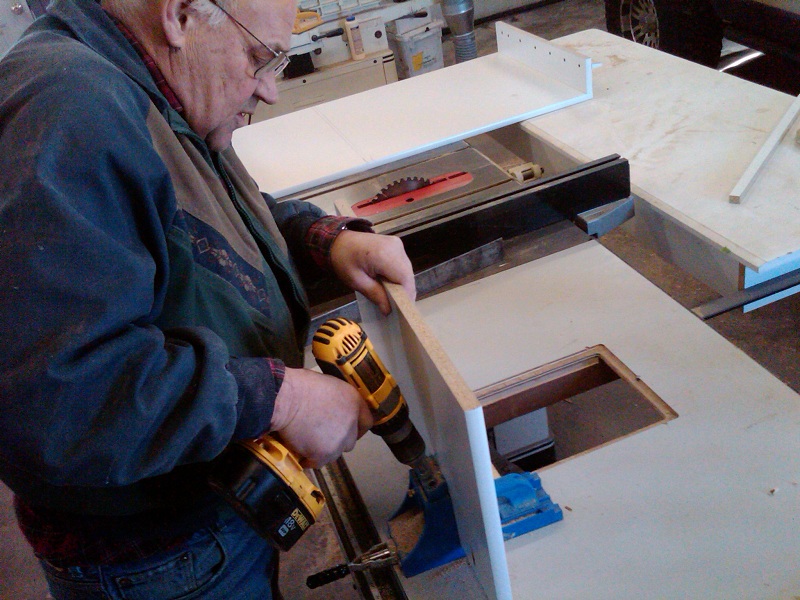
Next would be making the support piece...measuring, etc
Cutting the piece (I bought a piece of melamine coated particle board from Home Depot for this project)...

Drilling angled holes for the wood screws...
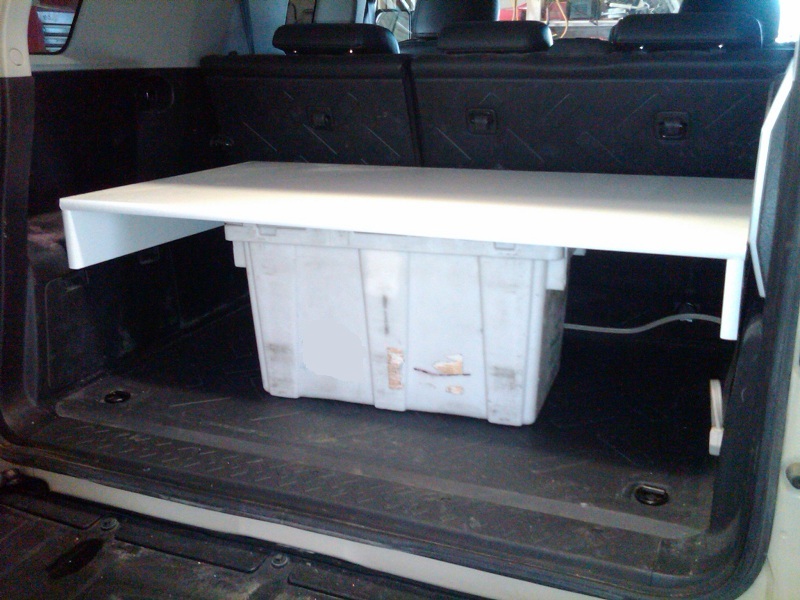
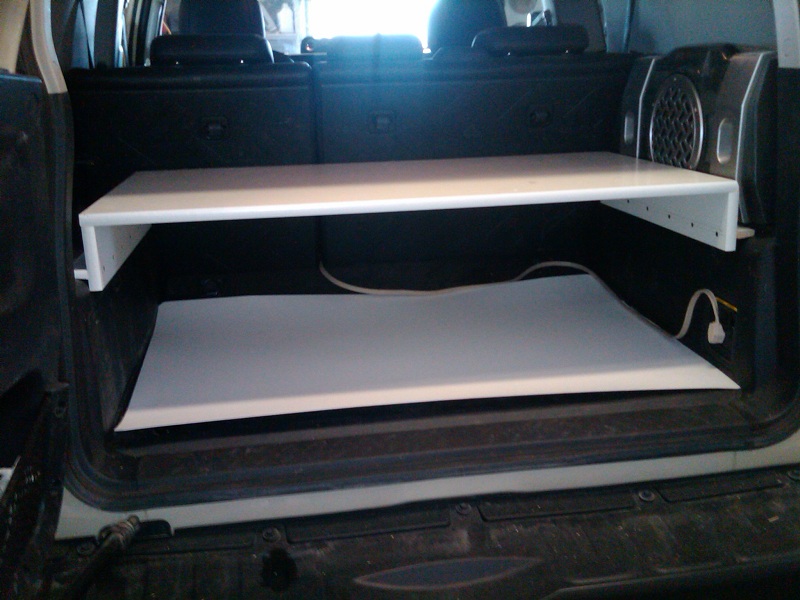
There it is; all finished and sitting in place...
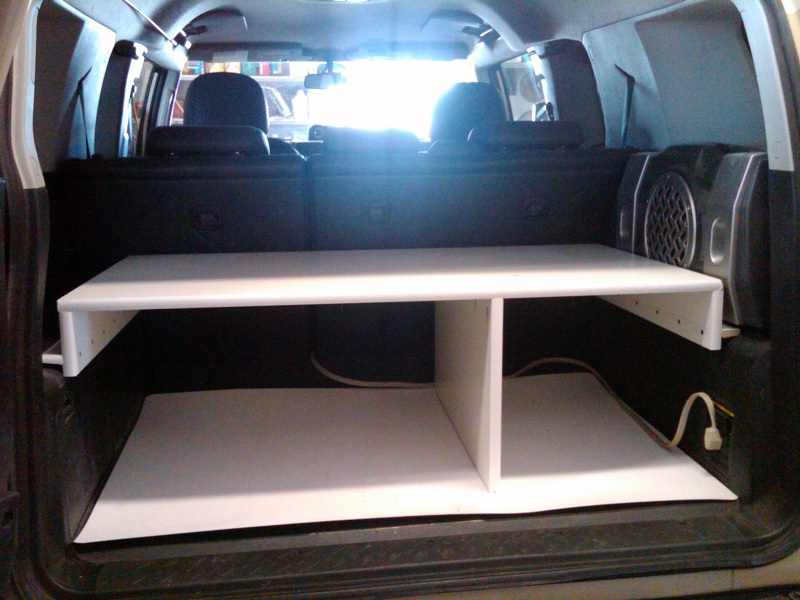
Here it is with a couple bins in place...and plenty of storage space above for the rest of our travel stuff.

I will try to get a photo of it once we get all of our stuff back in there as we head South to my folks' place in Texas.